Session 17: The Endless Bone Chambers
At a glance
- Starting location: The Bone Chambers beneath Castle Avernus, mid-combat
- Ending location: The Castle Avernus Lower Laboratory
- Characters present: Ignatius, Rage, and Carver; Pearl fought beside them before being dismissed. Ooru, Slippery Siv, and Voss remained in the safe antechamber.
Summary
The fight in the Bone Chambers resumed with Rage charging the great mass of knotted bone the party had come to call a bone golem. His axe found it. Ignatius hammered at its shins and spat acid across its frame, but the creature gave little sign that the acid mattered.
Then the floor answered its master’s need. More skeletons rose from the surrounding remains and sent bone javelins toward Rage. He turned from the golem and cut through one fresh wave, then another, but each broken body only returned to the chamber that had made it.
Carver found a brighter opening. A radiant true strike struck the golem with critical force. Ignatius pressed in after it. The golem answered with two crushing slams that left Rage barely upright. When the newly risen dead finally brought him down, Carver reached him with cure wounds and ordered Chip to fire a force ballista into the giant thing.
The golem tried to retreat through the bones. Ignatius drove a kick into its knee. Rage rose again and joined his giant rat in a savage counterattack. At last Carver and Chip flooded the creature with a devastating flamethrower. The golem collapsed spectacularly; its rib cage disintegrated into bone and rock.
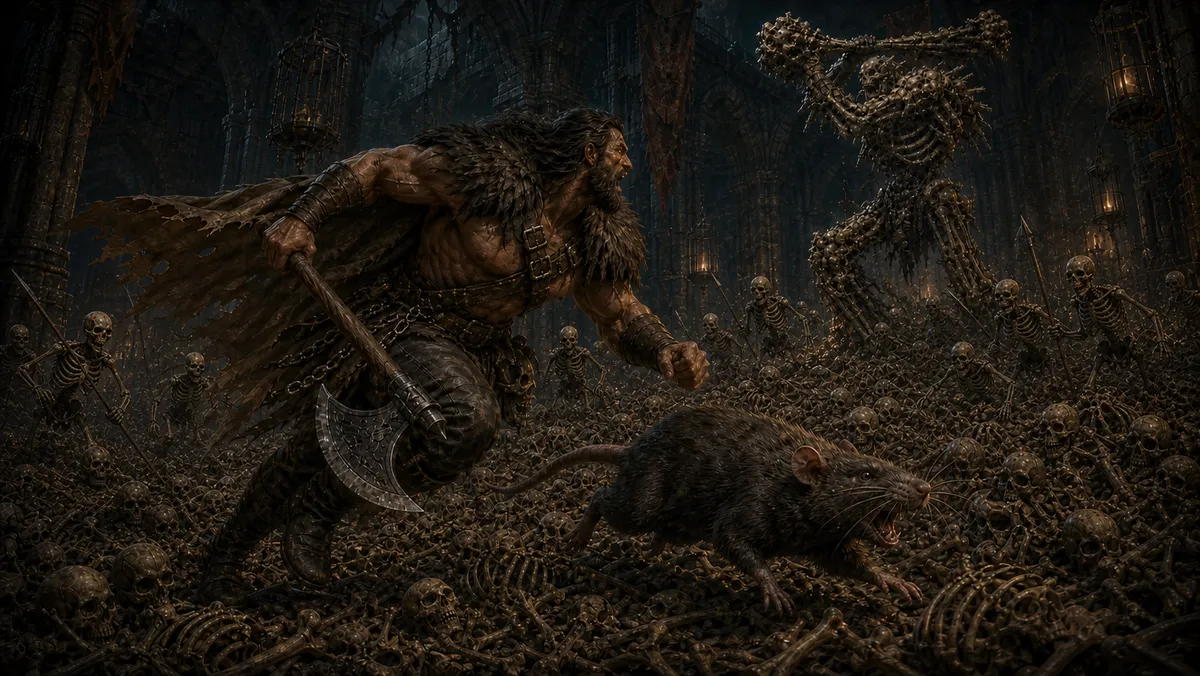
Rage rose again, and the giant rat came with him. View image record.
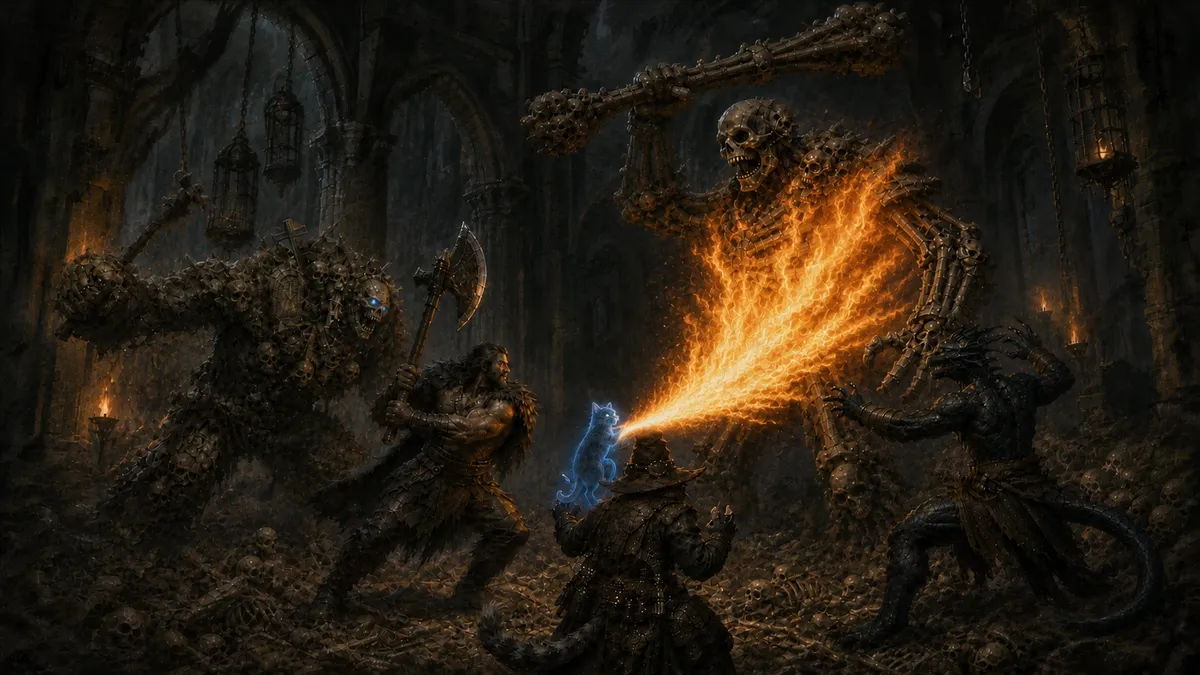
Chip’s Flamethrower brought the bone golem down. View image record.
Its defeat did not clear the room. Pearl helped the party hold back the skeletons, while a great doglike skeleton lunged for Rage and nearly killed him. Carver brought the hound down, but more skeletons continued to rise. The party understood the terrible rule of the chamber: there would always be another corpse, another weapon, another enemy to stand.
They fled.
Ignatius found an animal-dug tunnel away from the ossuary. The nearby doorway held only darkness, snarls, and cackling; another door seemed to shine with a light Rage trusted against the skeletons. Neither offered a better escape. Carver read the party’s scroll of summon undead, sending a summoned spirit back into the chamber to distract the horde. When the way cleared, it scouted the tunnel and returned unharmed.
Ooru, Siv, and Voss remained behind the antechamber’s safe threshold, which the skeletons could not cross. Pearl was dismissed after the fighting. Ignatius, Rage, and Carver slipped into the tunnel alone.
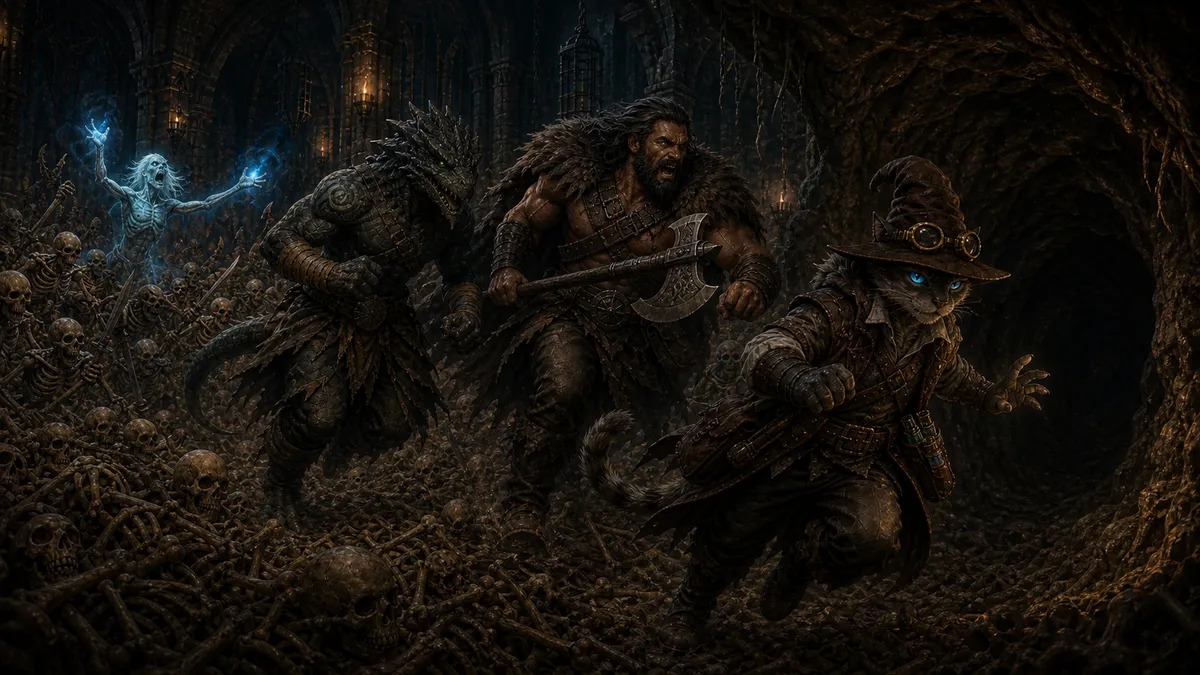
The three adventurers left the endless dead behind them. View image record.
It led to a hidden laboratory or study packed with spellbooks, components, and old experiments. A single door opened into a plainer storeroom, where preserved heads floated in glass jars. Ignatius caught one head looking at them. An eyeball on a shelf seemed to do the same. Ratlike creatures scratched in a far corner and scattered when he approached.
Rage took a short rest while Ignatius and Carver searched. They found a Ring of Protection for Carver, a perfectly formed Sun Blade for Rage, and Bracers of Defense that Ignatius wore as shin guards. The blade held a faint red tint. They also took two potions of greater healing, a spellbook and cryptic writings beside a chair, and a thick green bottle labeled Sanguine Solution.
Then a dragon screamed somewhere above.
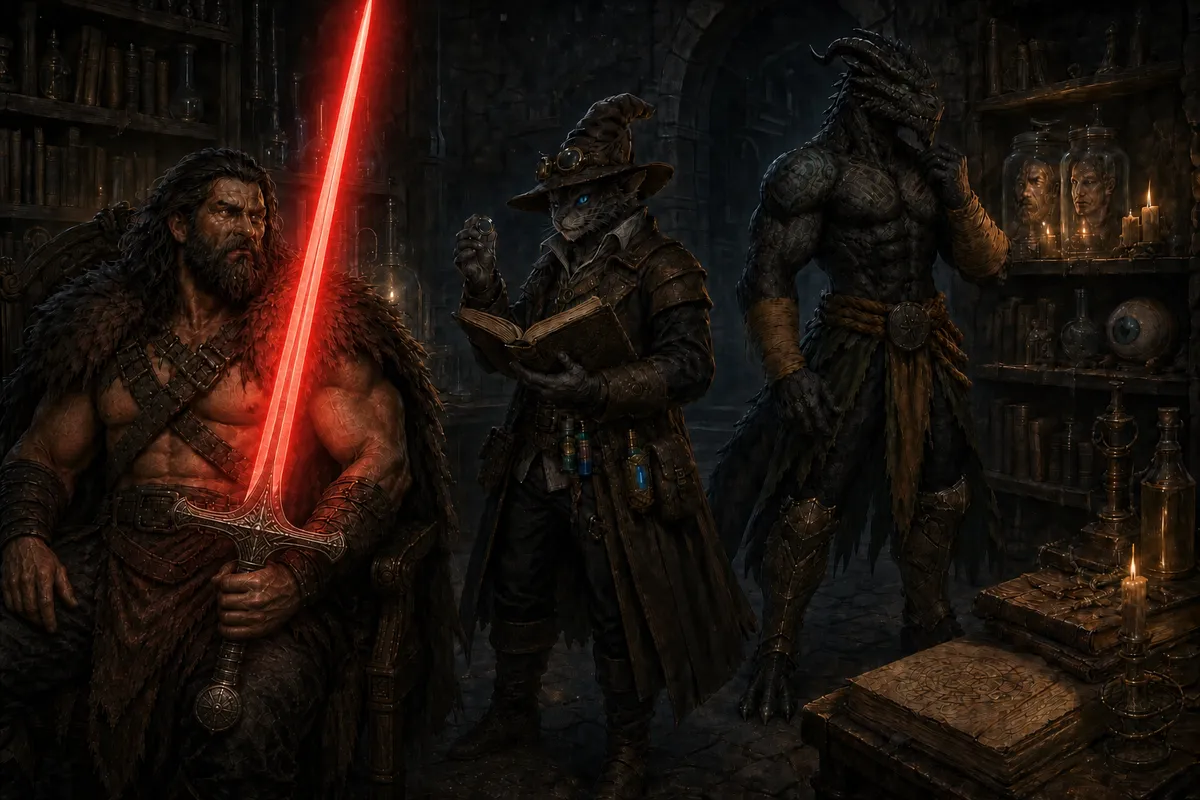
The lower laboratory yielded a new blade whose red light did not belong to sunlight. View image record.
The foundation of Castle Avernus shuddered as though something vast had landed in a roost. In the lower laboratory, the party listened to the castle settle around them.
Key events
- Rage, Ignatius, Carver, Chip, and Pearl destroyed the large bone golem in the Bone Chambers.
- Rage was knocked unconscious by newly raised skeletons; Carver restored him with cure wounds.
- Chip and Carver destroyed the large bone dog, but the chamber continued to raise skeletons from its endless remains.
- The party concluded it could not clear the horde and escaped through an animal-dug tunnel.
- Carver consumed a scroll of summon undead to distract the skeletons and scout the route ahead; the summoned spirit disappeared when its magic expired.
- Ooru, Siv, and Voss remained safe in the antechamber, while Pearl was dismissed after the battle.
- The three adventurers discovered and searched a lower laboratory and its storeroom.
- The party recovered several magical objects and alchemical supplies.
- A dragon’s screech and a violent impact shook the castle from above.
Decisions and consequences
- The party abandoned the Bone Chambers rather than attempting to destroy an endless horde.
- The bone golem and bone dog were destroyed, but the skeletons still occupy the ossuary.
- Carver consumed the scroll of summon undead.
- The distraction and scout created the opening needed to escape; the summoned spirit later disappeared.
- Pearl was dismissed after the combat.
- The grave elemental is no longer actively summoned.
People
- Pearl: Helped fight the skeletons before Carver dismissed the elemental.
- Ooru, Slippery Siv, and Voss: Remained in the antechamber beyond the skeletons’ reach.
- Chip: Fired a force ballista and helped end the bone golem with flamethrower fire.
Places
- Bone Chambers: Contain a seemingly endless, enchanted skeleton horde despite the golem’s destruction.
- Castle Avernus Lower Laboratory: A spell-filled study and storeroom reached by a tunnel the party believes an animal dug.
Clues, lore, and notable items
- The Bone Chambers appear enchanted to raise skeletons continually from their vast supply of remains.
- A lower laboratory contains spellbooks, experiments, preserved heads, and a watchful eyeball.
- Rage carries a faintly red-tinted Sun Blade.
- The party recovered a bottle of Sanguine Solution, whose properties are unknown.
- A dragon’s arrival or movement above the laboratory shook the castle, but its identity and location remain unconfirmed.
Story threads
- Resolved: The Beast in the Bone Chambers
- Advanced: The Phylactery in the Castle
- Opened: The Screech Above
Rewards, losses, and character changes
- Ring of Protection — Carver
- Red-tinted Sun Blade — Rage
- Bracers of Defense, worn as shin guards — Ignatius
- Two potions of greater healing, Sanguine Solution, a spellbook, and cryptic writings — party loot carried with Carver’s gear
- One scroll of summon undead — consumed
- Pearl — dismissed after the fight
Memorable moments
- Rage rose from unconsciousness and went back to the golem with his giant rat at his side.
- Carver’s critical radiant strike and Chip’s fire finally reduced the knotted bone giant to rubble.
- The party learned that winning a fight is not the same as clearing an enchanted room that will not stop making enemies.
- Something immense announced itself above the castle with a dragon’s scream.
Open questions
- What enchantment continually raises the Bone Chambers’ skeletons?
- What was the lower laboratory used for, and who or what watches from its preserved specimens?
- What does Sanguine Solution do?
- Why is Rage’s Sun Blade tinted red?
- What dragon—or other creature—landed somewhere above?
- Do the laboratory, its tunnel, or the Bone Chambers contain a clue to Azalin’s phylactery or Irik’s tomb?
Next session
- Immediate situation: Ignatius, Rage, and Carver are in the lower laboratory after recovering from the Bone Chambers battle. Ooru, Siv, and Voss remain in the protected antechamber nearby.
- Likely goals: Investigate the laboratory, account for the dragon’s arrival, reunite with their companions, and continue searching Castle Avernus for Irik’s tomb and Azalin’s phylactery.